
Keeping your WordPress plugins updated is essential for security, speed and performance. However, many website owners fear that auto-updating plugins might break their website layout or cause compatibility issues.
The good news? With the right precautions, you can enable auto-updates safely without disturbing your website design or user experience.
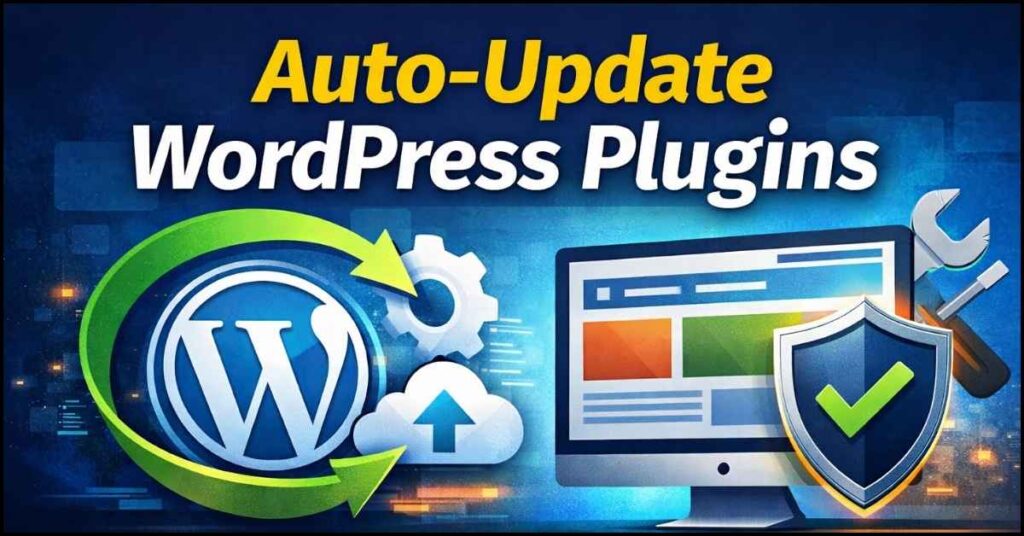
In this guide, you’ll learn how to auto-update WordPress plugins safely, along with tools and best practices every website owner should follow.
Why WordPress Plugin Updates Are Important
Outdated plugins can lead to:
- Security vulnerabilities
- Slow website performance
- Compatibility issues with WordPress core
- Broken features or forms
Auto-updates help ensure:
✅ Strong security
✅ Bug fixes
✅ Improved performance
✅ Time-saving maintenance
Step 1: Always Take a Full Backup Before Enabling Auto-Updates
Before enabling auto-updates, take a complete website backup (files + database). This allows you to restore your site instantly if anything goes wrong.
Recommended Backup Tools
🔹 External Backup Storage:
👉 Use a portable hard drive for offline backups🔹 Cloud Storage Option:
👉 SanDisk USB Flash Drive for backup💡 Store backups both locally and in cloud storage for maximum safety.
Step 2: Enable Auto-Updates from WordPress Dashboard
Go to:
Dashboard → Plugins → Installed Plugins
Click “Enable auto-updates” for selected plugins.
⚠️ Do NOT enable auto-updates for:
- Page builders (Elementor, WPBakery)
- WooCommerce
- Theme-related plugins
- Custom-coded plugins
Enable auto-updates only for:
✅ Security plugins
✅ Cache plugins
✅ SEO plugins
✅ Utility plugins
Step 3: Use a Staging Website Before Auto-Updating
A staging website is a clone of your live site where you test updates first.
Benefits:
- No risk to live website
- Test plugin compatibility
- Catch layout issues early
Most hosting providers (like Bluehost, Hostinger, SiteGround) offer 1-click staging sites.
Step 4: Install a Website Security Plugin
Security plugins protect your site during updates and alert you if something goes wrong.
Recommended Security Tool
You can also use popular WordPress security plugins like:
- Wordfence
- iThemes Security
- Sucuri
Step 5: Monitor Website After Updates
After auto-updates:
- Check homepage layout
- Test contact forms
- Check checkout process (if WooCommerce)
- Review website speed
Tools to use:
- Google PageSpeed Insights
- Browser inspection
- Manual user testing
Best Practices for Safe Auto-Updates
✔ Update plugins weekly (not daily)
✔ Avoid abandoned plugins
✔ Read update changelog
✔ Keep WordPress core updated
✔ Use reliable hosting
✔ Never update everything at once
Common Mistakes to Avoid
❌ Enabling auto-updates for all plugins
❌ No backup before updating
❌ Ignoring plugin conflicts
❌ Updating directly on live site
❌ Using pirated plugins
Conclusion
Auto-updating WordPress plugins is safe if done correctly. By following proper backup, staging and security practices, you can enjoy the benefits of automation without risking your website layout or functionality.
A little preparation today saves hours of troubleshooting tomorrow


Nice one.