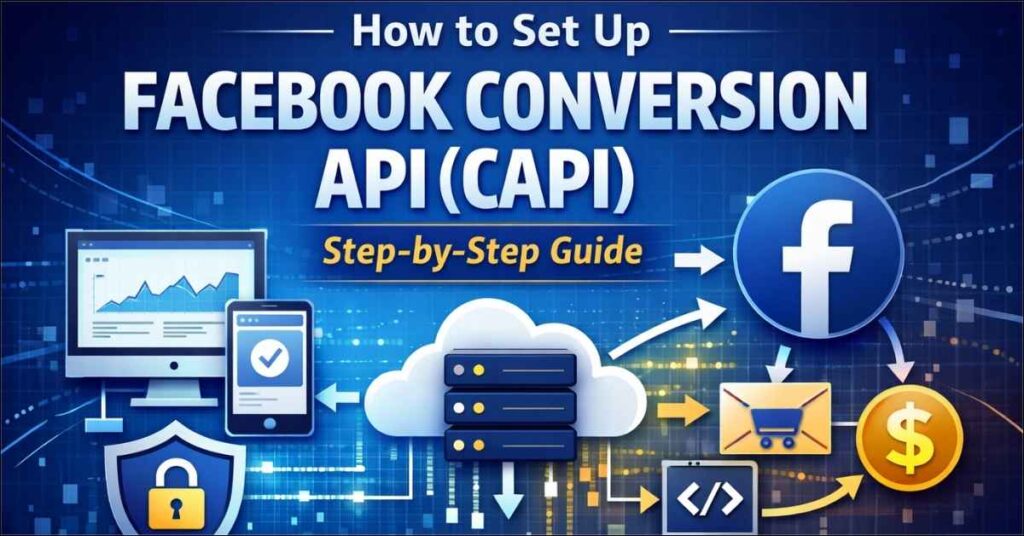
With increasing privacy regulations, browser restrictions, and ad blockers, Facebook Pixel alone is no longer enough. That’s where Facebook Conversion API (CAPI) comes in.
In this guide, you’ll learn what Facebook CAPI is, why it’s important, and how to set it up step by step, even if you’re not a developer.
What Is Facebook Conversion API (CAPI)?
Facebook Conversion API (CAPI) is a server-side tracking solution that sends website events directly from your server to Meta (Facebook).
Unlike Facebook Pixel, which relies on browser cookies, CAPI ensures more accurate and reliable data tracking, even when cookies are blocked.
Key Benefits of Facebook CAPI
- Improved event tracking accuracy
- Reduced data loss due to iOS updates & ad blockers
- Better ad optimization and attribution
- Works alongside Facebook Pixel (recommended)
Facebook Pixel vs Facebook CAPI
| Feature | Facebook Pixel | Facebook CAPI |
|---|---|---|
| Tracking type | Browser-side | Server-side |
| Affected by ad blockers | Yes | No |
| Data accuracy | Medium | High |
| Privacy compliance | Limited | Better |
👉 Best practice: Use both Pixel + CAPI together for maximum data accuracy.
Prerequisites Before Setting Up Facebook CAPI
Before starting, make sure you have:
- A Meta Business Manager account
- Access to Events Manager
- A website (WordPress, Shopify, or custom)
- Facebook Pixel already installed (recommended)
Method 1: Set Up Facebook CAPI Using Partner Integration (Easiest)
This is the recommended method for beginners and WordPress users.
Step 1: Open Events Manager
- Go to Meta Business Manager
- Navigate to Events Manager
- Select your Pixel
Step 2: Add Conversion API
- Click Settings
- Scroll to Conversion API
- Click Set Up
- Choose Partner Integration
Step 3: Select Your Platform
Choose your platform such as:
- WordPress
- WooCommerce
- Shopify
Follow the on-screen steps to complete the integration.
✅ Facebook will automatically generate the Access Token and handle event mapping.
Method 2: Set Up Facebook CAPI Manually (Advanced)
This method is ideal for custom websites or advanced tracking needs.
Step 1: Generate Access Token
- Go to Events Manager → Settings
- Under Conversion API, generate an Access Token
- Save it securely
Step 2: Send Server Events
You’ll need to send events such as:
- PageView
- ViewContent
- AddToCart
- Purchase
using Facebook’s CAPI endpoint from your server.
⚠️ This method requires developer support.
Setting Up Facebook CAPI in WordPress (Recommended Plugins)
For WordPress users, use these plugins:
- Meta Pixel for WordPress (Official)
- PixelYourSite
- GTMA4WP (Google Tag Manager for WordPress)
Basic Steps:
- Install the plugin
- Connect Meta Business Manager
- Enable Server-Side Tracking (CAPI)
- Verify events in Test Events
Enable Event Deduplication (Very Important)
When using Pixel + CAPI together, event deduplication prevents double counting.
Ensure:
- Same Event Name
- Same Event ID
- Sent from both Pixel & CAPI
Meta handles deduplication automatically when configured correctly.
Verify Facebook CAPI Setup
After setup:
- Go to Events Manager
- Open Test Events
- Perform actions on your website
- Confirm Browser + Server events are firing
You should see Server Events Received status as active.
Common Facebook CAPI Setup Mistakes
- Not enabling event deduplication
- Using CAPI without Pixel
- Incorrect domain verification
- Ignoring event priority settings
Fixing these ensures better ad performance and data reliability.
Conclusion
Facebook Conversion API is no longer optional – it’s essential for accurate ad tracking and better ROI.
If you’re running Meta ads in 2025, setting up Facebook CAPI alongside Pixel will give you:
- Better data
- Stronger optimization
- Higher conversion confidence